You will need the following...
- Email Address
- Email Password
Go to the Main Menu (The quickest way to do this is to press the Home button which is the only button on the front of the device.)
Select Settings which should look like the image below
Scroll down and select Mail or Mail, Contacts, Calendars
Select Add Account. Note: If you already have accounts set up on this device you will need to tap Accounts before tapping Add Account
Then select Other as shown in the image below.
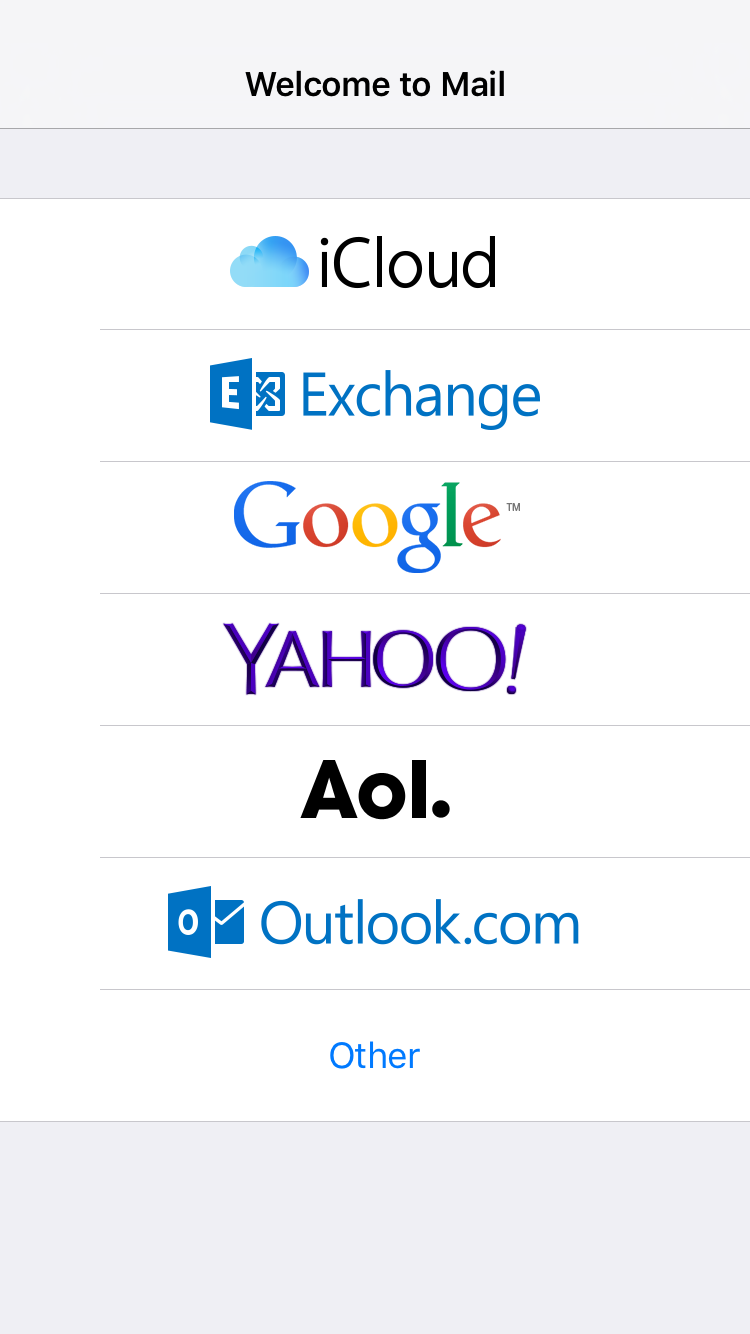
Now tap Add Mail Account
You'll then be asked for the following information
- Name: Type your name or company name in this field. What you put here will be what clients see when they receive an email from you. Capital letters and spaces can be used.
- Address: Type your email address in lower case and double check your spelling.
- Password: Type your email password.
- Description: Short description of the account e.g. work email. It's for your reference and won't affect the email setup.
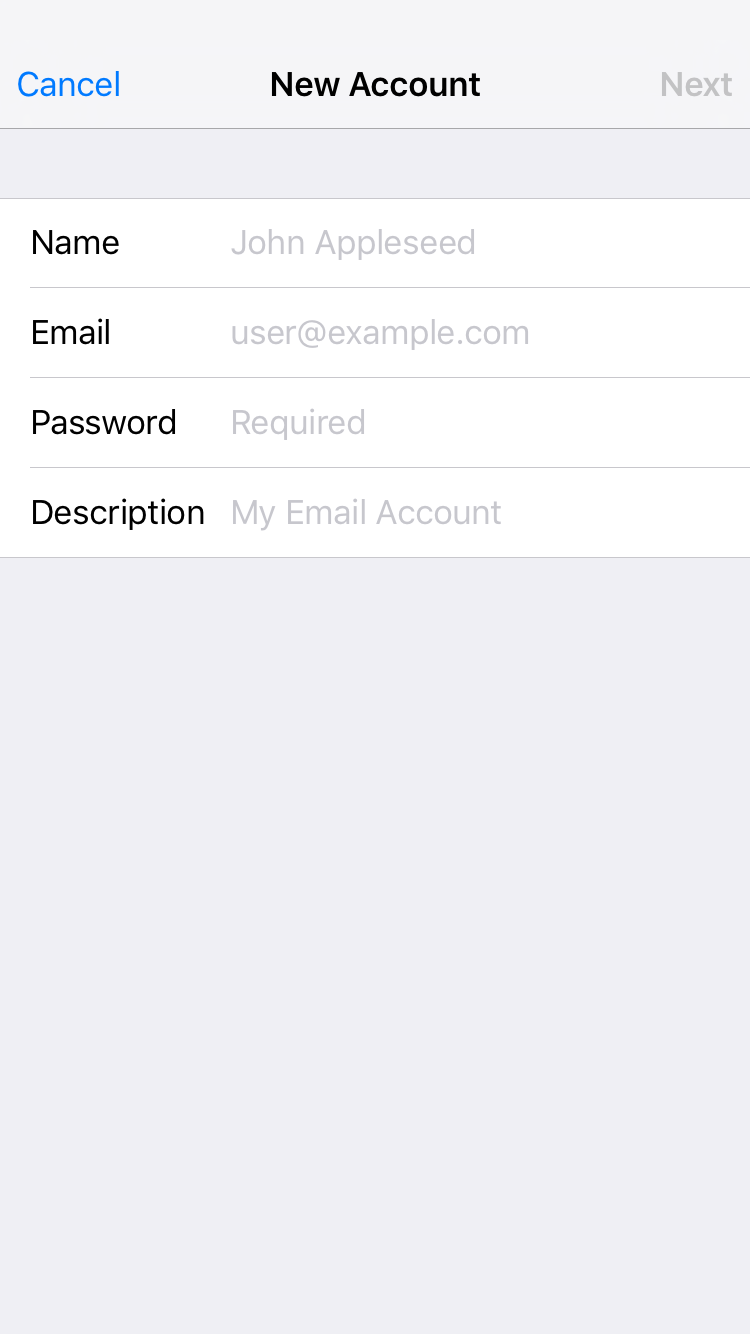
Tap Next in the top right corner.
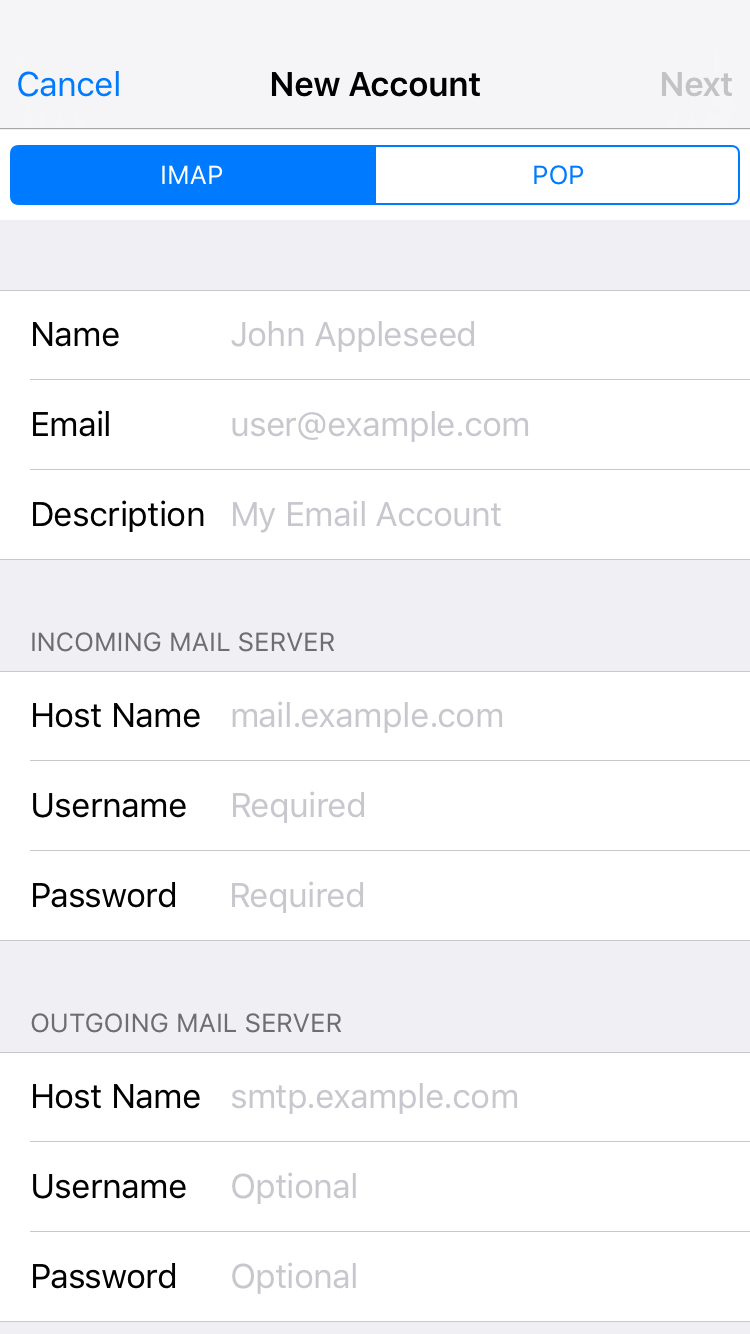
Select IMAP or POP as the account type.
Incoming Mail Server
- Host Name: mail.ddns.com.au
- Username: youraddress@yourdomain.com (your complete email address)
- Password: Your email password
- Host Name: mail.ddns.com.au
- User Name: youraddress@yourdomain.com (your complete email address)
- Password: Your email password
Tap Next in the top right corner.
If everything is successful you will see the screen below, tap the Save button in the top right.
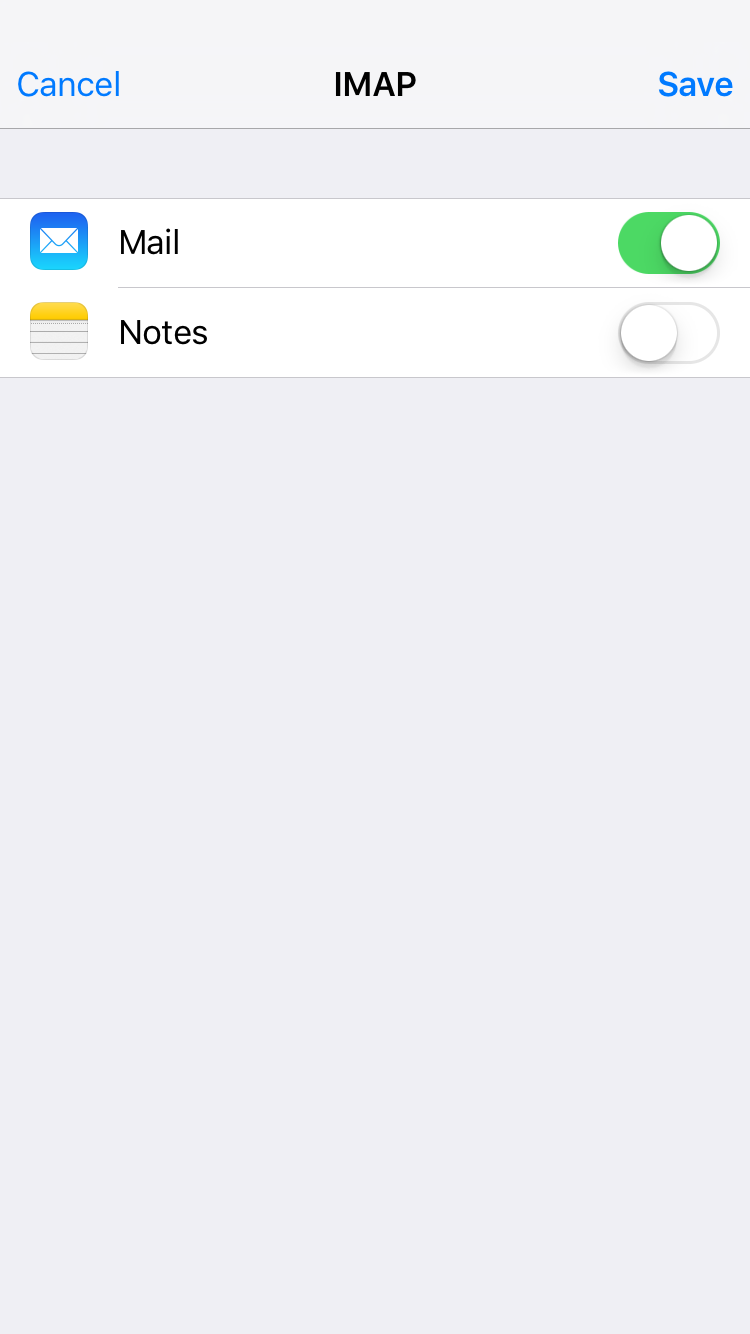
Finished
The steps above are sufficient for basic email. You can check your email to make sure it’s working at this point: Press the Home button to return to the main screen, then tap the Mail icon
Optional: We also recommend configuring the mail box behaviours so that Sent, Drafts, Archive & Deleted mail is stored on the mail server where it can sync with any other mobile device you may have configured or our webmail facility. See this article for details on MailBox Behaviours.
Troubleshooting
A) Typos with the small keys on many mobile devices are not uncommon and are a regular issue when setting up accounts.
B) The User Name in both sections must be the same as the one you assigned on the server, typically it will be in lower case.
C) Get back into the account and scroll to the bottom of that page and click Advanced. Check the following information on this page:
Incoming Settings
Use SSL: On
Server Port: 993
Outgoing Settings
Use SSL: On
Authentication: Password
Server Port: 587