This article describes how to create a CSR which you will need to get your certificate signed once your order has been placed.
The procedure is for clients who are using our shared hosting platform only and does not cover VPS or 3rd party servers.
1. Login to your account at DDNS
2. Click on Products / Services on the left-hand side and then click View next to the hosting account you want to use the certificate with.
3. Click the Login To Plesk button about half way down the page in the middle.
The hosting control panel will open in a new window. Make sure popups is not blocked.
If this is the case typically there is an allow button in the top left or right of the screen.
4. Once in the control panel, look down the screen for the Websites & Domains section. In here you will find a link for Secure Your Site with SSL Certificate. Click this.
5. Click the Add SSL Certificate button.
You will see a page like the example screenshot below
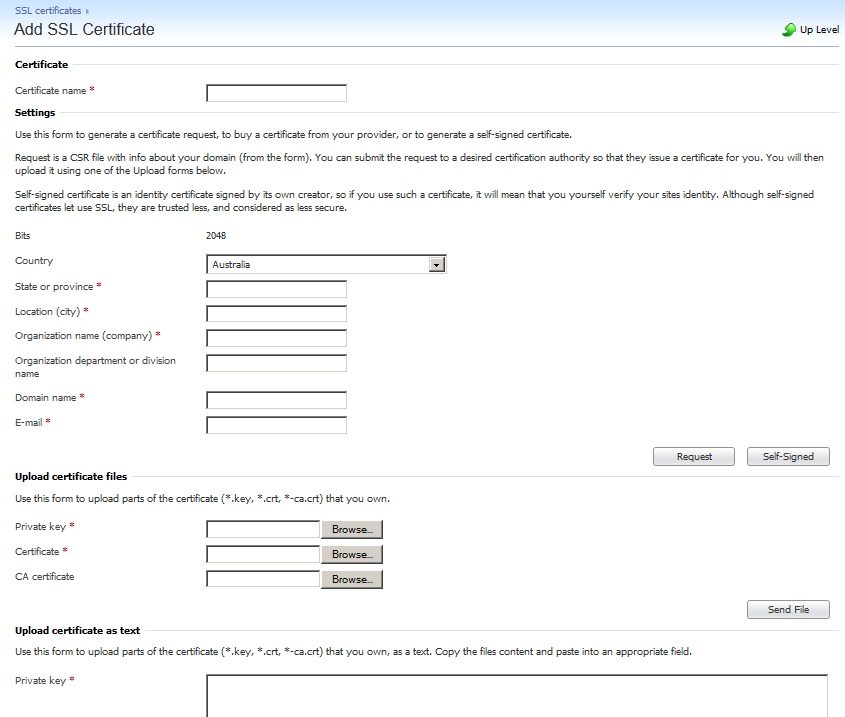
Here is an explanation of what to enter...
Certificate Name
This is only used for identification in the hosting control panel.
You can enter what you like here, but we suggest labelling it with the domain and the year so that you can easily identify the certificate when you go to replace it in the future.
The fields below are for reference to your physical address.
Pay special attention to these fields if you are ordering an EV certificate, as the details must match your physical address and those you enter on the application documentation.
Domain Name
This is the most important field, as it refers to the address you want to secure with the certificate. e.g. www.example.com.au
Email Address
This is the email address of the website administrator.
6. Once that's done, click the Request button ![]() and the server will generate the private key, which remains on the server, and the CSR which is used to get the signed certificate component from the issuing authority. Copy and paste the CSR into the box provided on the issuing authorities form.
and the server will generate the private key, which remains on the server, and the CSR which is used to get the signed certificate component from the issuing authority. Copy and paste the CSR into the box provided on the issuing authorities form.